Everything You Need to Know About Boat Gel Coat Repair: Tips and Steps
The gleaming finish of a boat's gel coat isn't just for aesthetics; it’s your watercraft’s barrier against the harshest elements of the sea. Over time, however, exposure to the sun, saltwater, and regular wear-and-tear can damage this protective layer, putting your marine investment at risk. Inevitable as it may seem, don’t let this discourage you! Consider it an opportunity to learn boat gel coat repair; doing so ensures your vessel remains as beautiful and resilient as ever while adding a valuable skill to your boating arsenal. Sail with us as we dive into everything you need to know about boat gel coat repair: from vital tips to a comprehensive step-by-step guide. Trust us; it's easier than you think!
Boat gel coat repair typically involves several key steps. First, prepare the damaged area by removing loose gel coat pieces and cleaning the surface thoroughly. Then, use fine-grit sandpaper to rough up the surface and remove any hard edges. Next, mix a solution in a container and apply a thickening mixture to the affected area using gloved hands. Cover it with painter's tape and allow time for curing. Afterward, remove the tape and sand the repaired area to achieve smoothness. For more detailed instructions, please refer to our article on boat gel coat repair on our website.
Understanding Boat Gel Coat Repair
Boat gel coat repair is an essential skill for any boat owner to maintain the aesthetics and structural integrity of their vessel. Gelcoat, a resin-based polymer applied during the fiberglass molding process, provides a smooth, glossy finish while acting as a waterproof barrier. Over time, gelcoat can deteriorate due to UV exposure, impact, or accidents. It's important to address any damage promptly to ensure the longevity of your boat.
Gel coat repair involves applying gel coat over the damaged area, restoring its original appearance. However, it's worth noting that textured or multi-tone surfaces may require additional attention, and deep holes may necessitate structural fiberglass repairs.
As with any repair project, having the necessary tools and materials is crucial for successful gel coat repair. Let's explore the types of gel coat damage commonly encountered and discuss the tools and materials needed for the repair process.
- According to a study by the International Marine Certification Institute (IMCI), approximately 60% of all boat hull damage involves the gel coat layer.
- The Boat Owners Association of The United States states that around 50% of all insurance claims related to water vessels involve harm to the exterior surface which includes the gel coat.
- Research conducted by West System, a leading manufacturer of marine-grade epoxy resins and repair materials, indicates that proper gel coat repair can enhance the lifespan of a fiberglass boat by up to 10%.
Identifying Types of Gel Coat Damage
Before diving into gel coat repair techniques, it's essential to understand the different types of gel coat damage that can occur on boats. This knowledge will help determine the most appropriate repair method for your specific situation.
Some common types of gel coat damage include:
- Scratches: Shallow surface marks caused by contact with abrasive objects.
- Cracks: Fine or larger fractures in the gel coat caused by stress or impact.
- Gouges: Deep indentations in the gel coat resulting from severe impact or accidents.
- Blistering: Bumps or bubbles that form beneath the gel coat due to moisture intrusion.
By visually inspecting your boat's exterior, you can identify these types of damage and determine which areas require attention. Keep in mind that understanding the extent and severity of damage is vital when choosing an appropriate repair method.
Consider this scenario: Imagine you're driving your boat close to the shore, and suddenly there's a scraping noise. Upon inspection, you notice deep scratches along the hull. Understanding that these are surface-level scratches helps you determine the suitable repair process.
Now that we have a solid understanding of boat gel coat repair and have identified the different types of gel coat damage, let's move on to discussing the necessary tools and materials needed for effective repairs.
Necessary Tools and Materials
Before embarking on a gel coat repair project for your boat, it's crucial to gather all the necessary tools and materials. Having these items on hand will ensure a smooth and efficient repair process. Here are some of the tools you'll need:
- Gelcoat resin and catalyst: These are the primary components for repairing gel coats. The resin acts as the base, while the catalyst initiates the curing process.
- Coloring agents: Depending on your boat's exterior color, you may need coloring agents to match the gel coat repair with the existing finish.
- Acetone: This solvent is used for cleaning and preparing the damaged area before applying the gel coat.
- Masking tape: It helps in creating clean edges and preventing the gel coat from spreading beyond the desired repair area.
- Handheld grinder: Used for removing damaged or loose gel coat before applying new layers.
- Mixing cups: Essential for measuring and mixing the gel coat resin and catalyst accurately.
- Latex gloves: To protect your hands from chemicals during the repair process.
- Sandpaper: Various grits of sandpaper will be needed for sanding down the repaired area to achieve a smooth finish.
- PVA curing agent: This agent helps create a hard, durable surface when applied over the freshly cured gel coat.
- Rubbing/cutting compound: Used for polishing and restoring shine to the repaired area.
- Boat wax: Applying boat wax can further protect and enhance the appearance of your gel coat repair.
Keep in mind that specific boat models may have unique requirements or recommendations outlined in their owner's manual or by boat manufacturers. It's essential to consult these resources for any additional precautions or recommended products specific to your vessel.
Detailed Steps for Gel Coat Repair
Now that you have gathered all the necessary tools and materials let's dive into the detailed steps involved in repairing your boat's gel coat:
- Know the boat's finish: Familiarize yourself with the type and characteristics of the gel coat on your boat to ensure proper repair techniques.
- Match gel coat color: Find a gel coat color that closely matches your boat's exterior finish for seamless repairs.
- Prepare the surface: Begin by removing any loose or damaged gel coat pieces using a handheld grinder or sandpaper. Clean the area thoroughly with acetone to remove any contaminants.
- Sanding: Use sandpaper with fine grit to rough up the surface and remove hard edges surrounding the damaged area. This step helps improve adhesion between layers of the gel coat.
- Tape off the damaged area: Apply masking tape around the repair site to create clean edges and protect surrounding surfaces from accidental damage.
- Apply filler for deep scratches or gouges: For deep holes or gouges, use a suitable filler to level and fill in the damaged area before applying the gel coat.
- Mix gelcoat resin and catalyst: Follow manufacturer instructions to mix the proper ratio of gel coat resin and catalyst in a mixing cup.
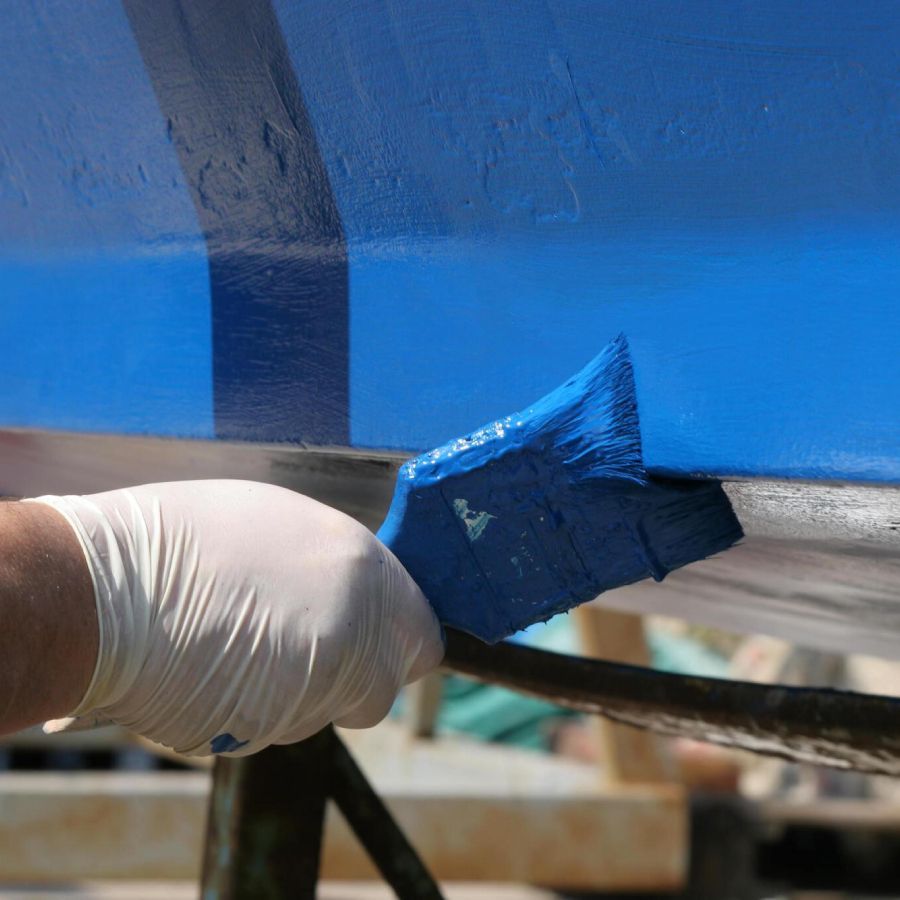
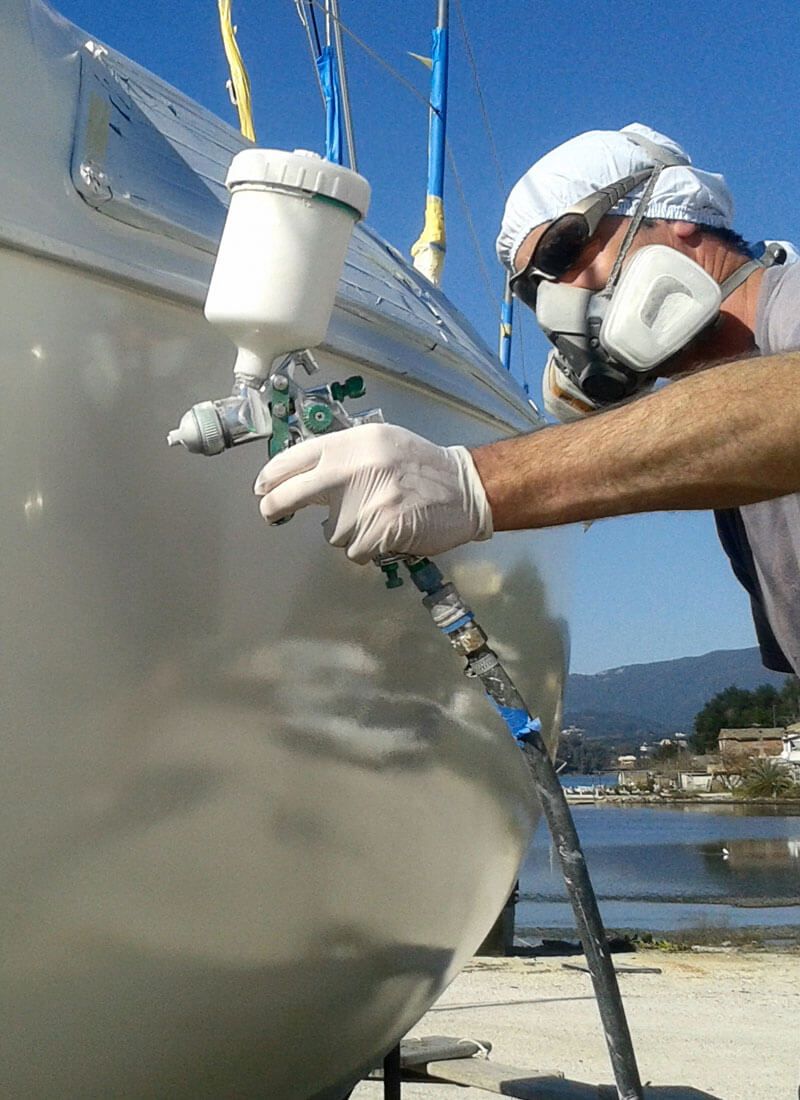
- Apply gel coat evenly: Using a brush or spray gun, apply the gel coat mixture evenly onto the repaired area, making sure it covers all damaged portions.
- Allow time to cure: Follow the recommended curing time specified by the manufacturer to ensure proper hardening of the gel coat.
- Remove tape: Carefully remove the masking tape after the gel coat has cured but is still slightly tacky for clean lines.
- Sand to smoothness: Using progressively finer grits of sandpaper, sand down the repaired area until it is flush with the surrounding surface, achieving a smooth finish.
- Polish and wax: Apply rubbing/cutting compound followed by boat wax to restore shine and protect the repaired gel coat.
Remember, each boat repair may have unique considerations, so it's always advisable to refer to your boat's owner's manual and follow any specific instructions or precautions outlined by the manufacturer.
Preparing the Boat's Surface
Before diving into the boat gel coat repair process, it is essential to prepare the surface properly. This step ensures optimal adhesion and a smooth finish for the gel coat repair. Start by identifying the type of gel coat finish your boat has, as different types may require specific prep techniques.
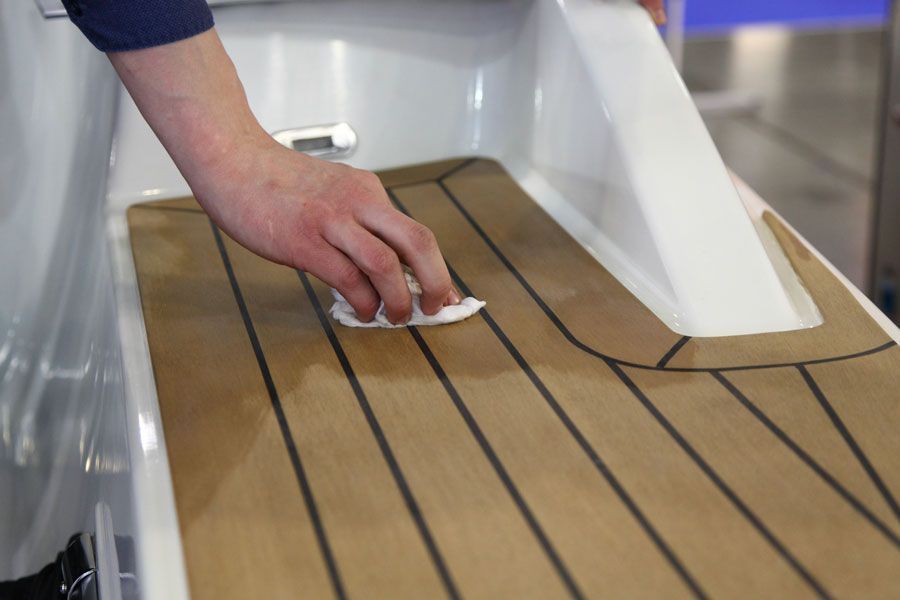
Begin by thoroughly cleaning the damaged area using soap and water, or a specialized marine cleaner. Remove any dirt, grime, or wax buildup that could interfere with the adhesion of the new gel coat. Next, carefully sand the damaged area using fine-grit sandpaper to create a rough surface that allows for better bonding.
After sanding, wipe away dust and debris using a clean cloth or rag. It is important to ensure the surface is completely clean before proceeding to the next step.
Now that we have prepared the boat's surface, let's move on to applying and curing the gel coat.
Applying and Curing Gel Coat
When it comes to repairing a gel coat on a boat, applying and curing the new gel coat is a crucial step in achieving a seamless repair. Make sure you have all the necessary tools and materials ready before starting this process.
Once you have prepared the surface as mentioned earlier, it's time to mix your gel coat resin with catalyst according to the manufacturer's instructions. This will activate the chemical reaction that allows the gel coat to harden and cure properly.
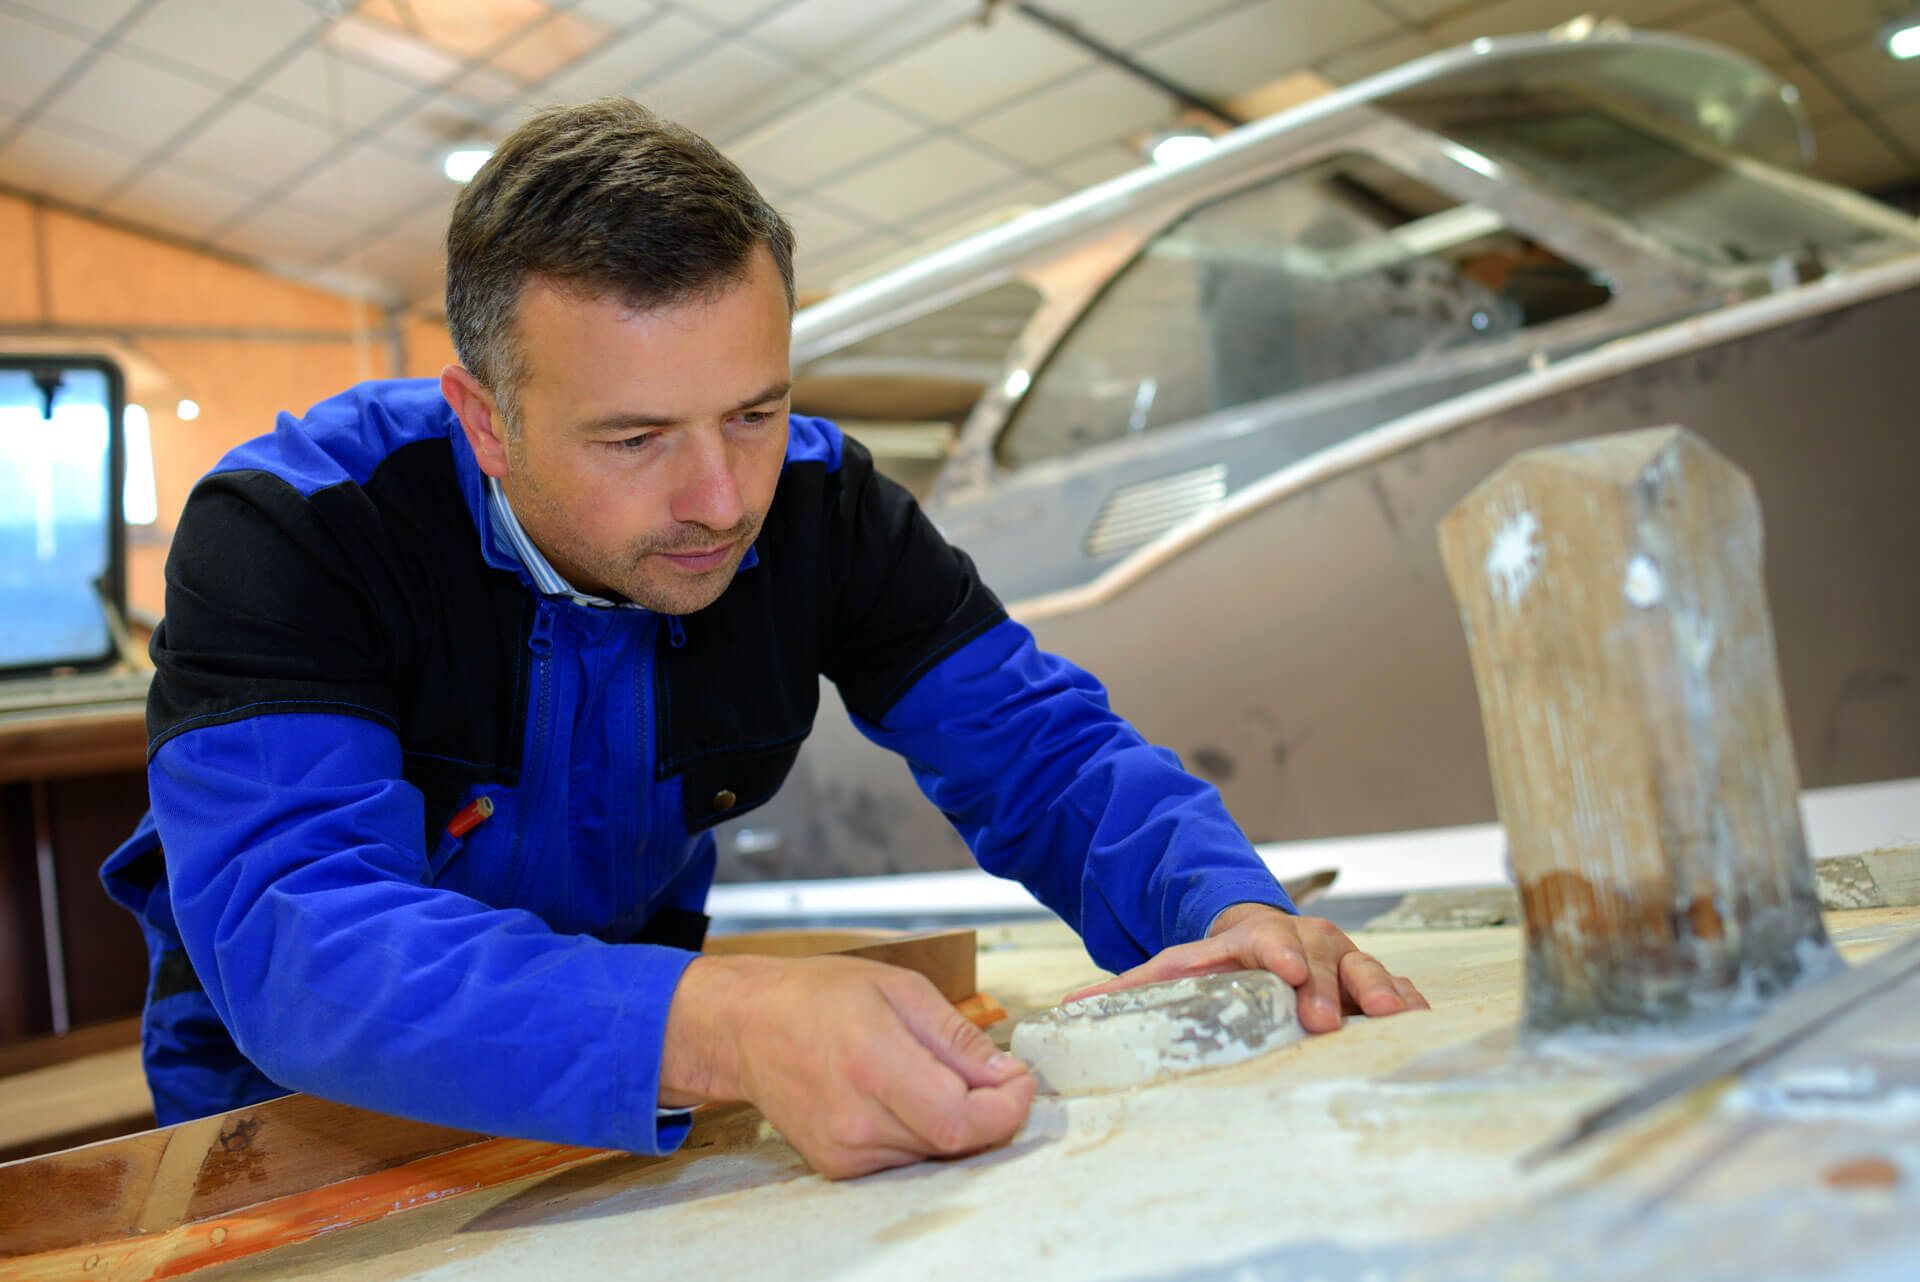
Using a brush or roller, apply an even layer of mixed gel coat over the damaged area. Take care to feather out the edges to blend them seamlessly with the surrounding undamaged gel coat.
Imagine you're an artist delicately brushing strokes onto a canvas - precision and attention to detail are key here.
Covering the freshly applied gel coat with a layer of PVA curing agent will help create a smooth finish and prevent any contaminants from affecting its curing process. Allow the gel coat to cure for the recommended time specified by the manufacturer.
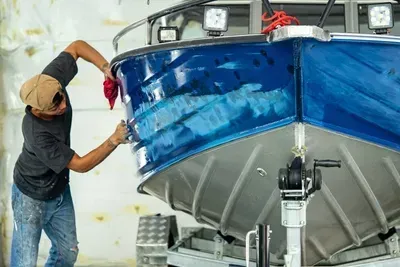
Once the gel coat has cured, it’s time to sand the repaired area with progressively finer grit sandpaper to achieve a smooth and polished finish. This process may require patience and several rounds of sanding to achieve the desired results.
Some boaters may choose to use a rubbing or cutting compound at this stage, followed by a boat wax application to further enhance the shine and protection of the repaired gel coat. However, opinions vary on these optional steps, so consider your specific situation and follow guidance from your boat's owner's manual or consult with experts in the field before proceeding.
Now that we have covered the crucial steps involved in applying and curing gel coat, let's take a look at how we can prevent future gel coat damage.
Preventing Future Gel Coat Damage
When it comes to boat gel coat repair, prevention is always better than cure. Taking proactive measures to prevent future gel coat damage can save you time, money, and headaches down the line. Here are some tips to help maintain your boat's gel coat and minimize the risk of further damage.
Firstly, regular cleaning and maintenance is crucial. A clean boat not only looks great but also helps protect the gel coat from dirt, grime, and environmental elements. Use gentle cleaning products that are specifically designed for boats to avoid damaging the gel coat further.
Secondly, consider using a protective wax or polish on the gel coat surface. This creates a barrier against UV rays and other harmful elements that can cause discoloration and deterioration over time. Apply the wax or polish according to manufacturer instructions for optimal results.
Additionally, practicing safe docking and anchoring techniques can help prevent scratches and scrapes on the gel coat. Take care when maneuvering your boat near docks or other vessels, ensuring there is enough space to avoid potential collisions.
Lastly, consider investing in a boat cover or storing your boat in a covered area when not in use. This offers added protection from harsh weather conditions and reduces exposure to UV rays that can cause fading and damage to the gel coat.
By implementing these preventive measures, you can prolong the life of your boat's gel coat and minimize the need for frequent repairs.
Now that we've discussed preventing future gel coat damage, let's explore alternative methods for patching up damaged gel coats.
- It is important to take proactive measures to prevent gel coat damage on your boat. Regular cleaning and maintenance, using protective wax or polish, practicing safe docking and anchoring techniques, and investing in a boat cover or covered storage can help maintain the gel coat's appearance and minimize the risk of further damage. By following these preventive measures, you can prolong the life of your boat's gel coat and reduce the need for frequent repairs.
Alternative Methods for Gel Coat Patching
While traditional gel coat repair involves applying a new gel coat over damaged areas, there are alternative methods that may be more suitable depending on the extent of the damage or specific requirements.
One such alternative method is using epoxy-based fillers specifically designed for repairing fiberglass surfaces. These fillers have excellent adhesive properties and can be shaped and sanded to match the contours of the gel coat. They are particularly effective for small scratches, chips, or gouges.
Another option is using marine-grade epoxy resins in combination with fiberglass cloth or mat. This method is more suitable for structural repairs or larger damaged areas that require reinforcement. Applying layers of fiberglass cloth or mat saturated with epoxy resin can provide a durable and long-lasting repair.
It's important to note that alternative methods may require additional skills, tools, and materials compared to traditional gel coat repair. If you're unsure about which method to use or if the damage is extensive, it's always recommended to consult a professional or seek guidance from experienced individuals in the boating community.
How Can We Help?
Reach out to us if you are looking for a boat service provider in Florida and nearby areas. We offer a wide range of boat services. We would love to hear from you!